Custom bike rack for less than $50
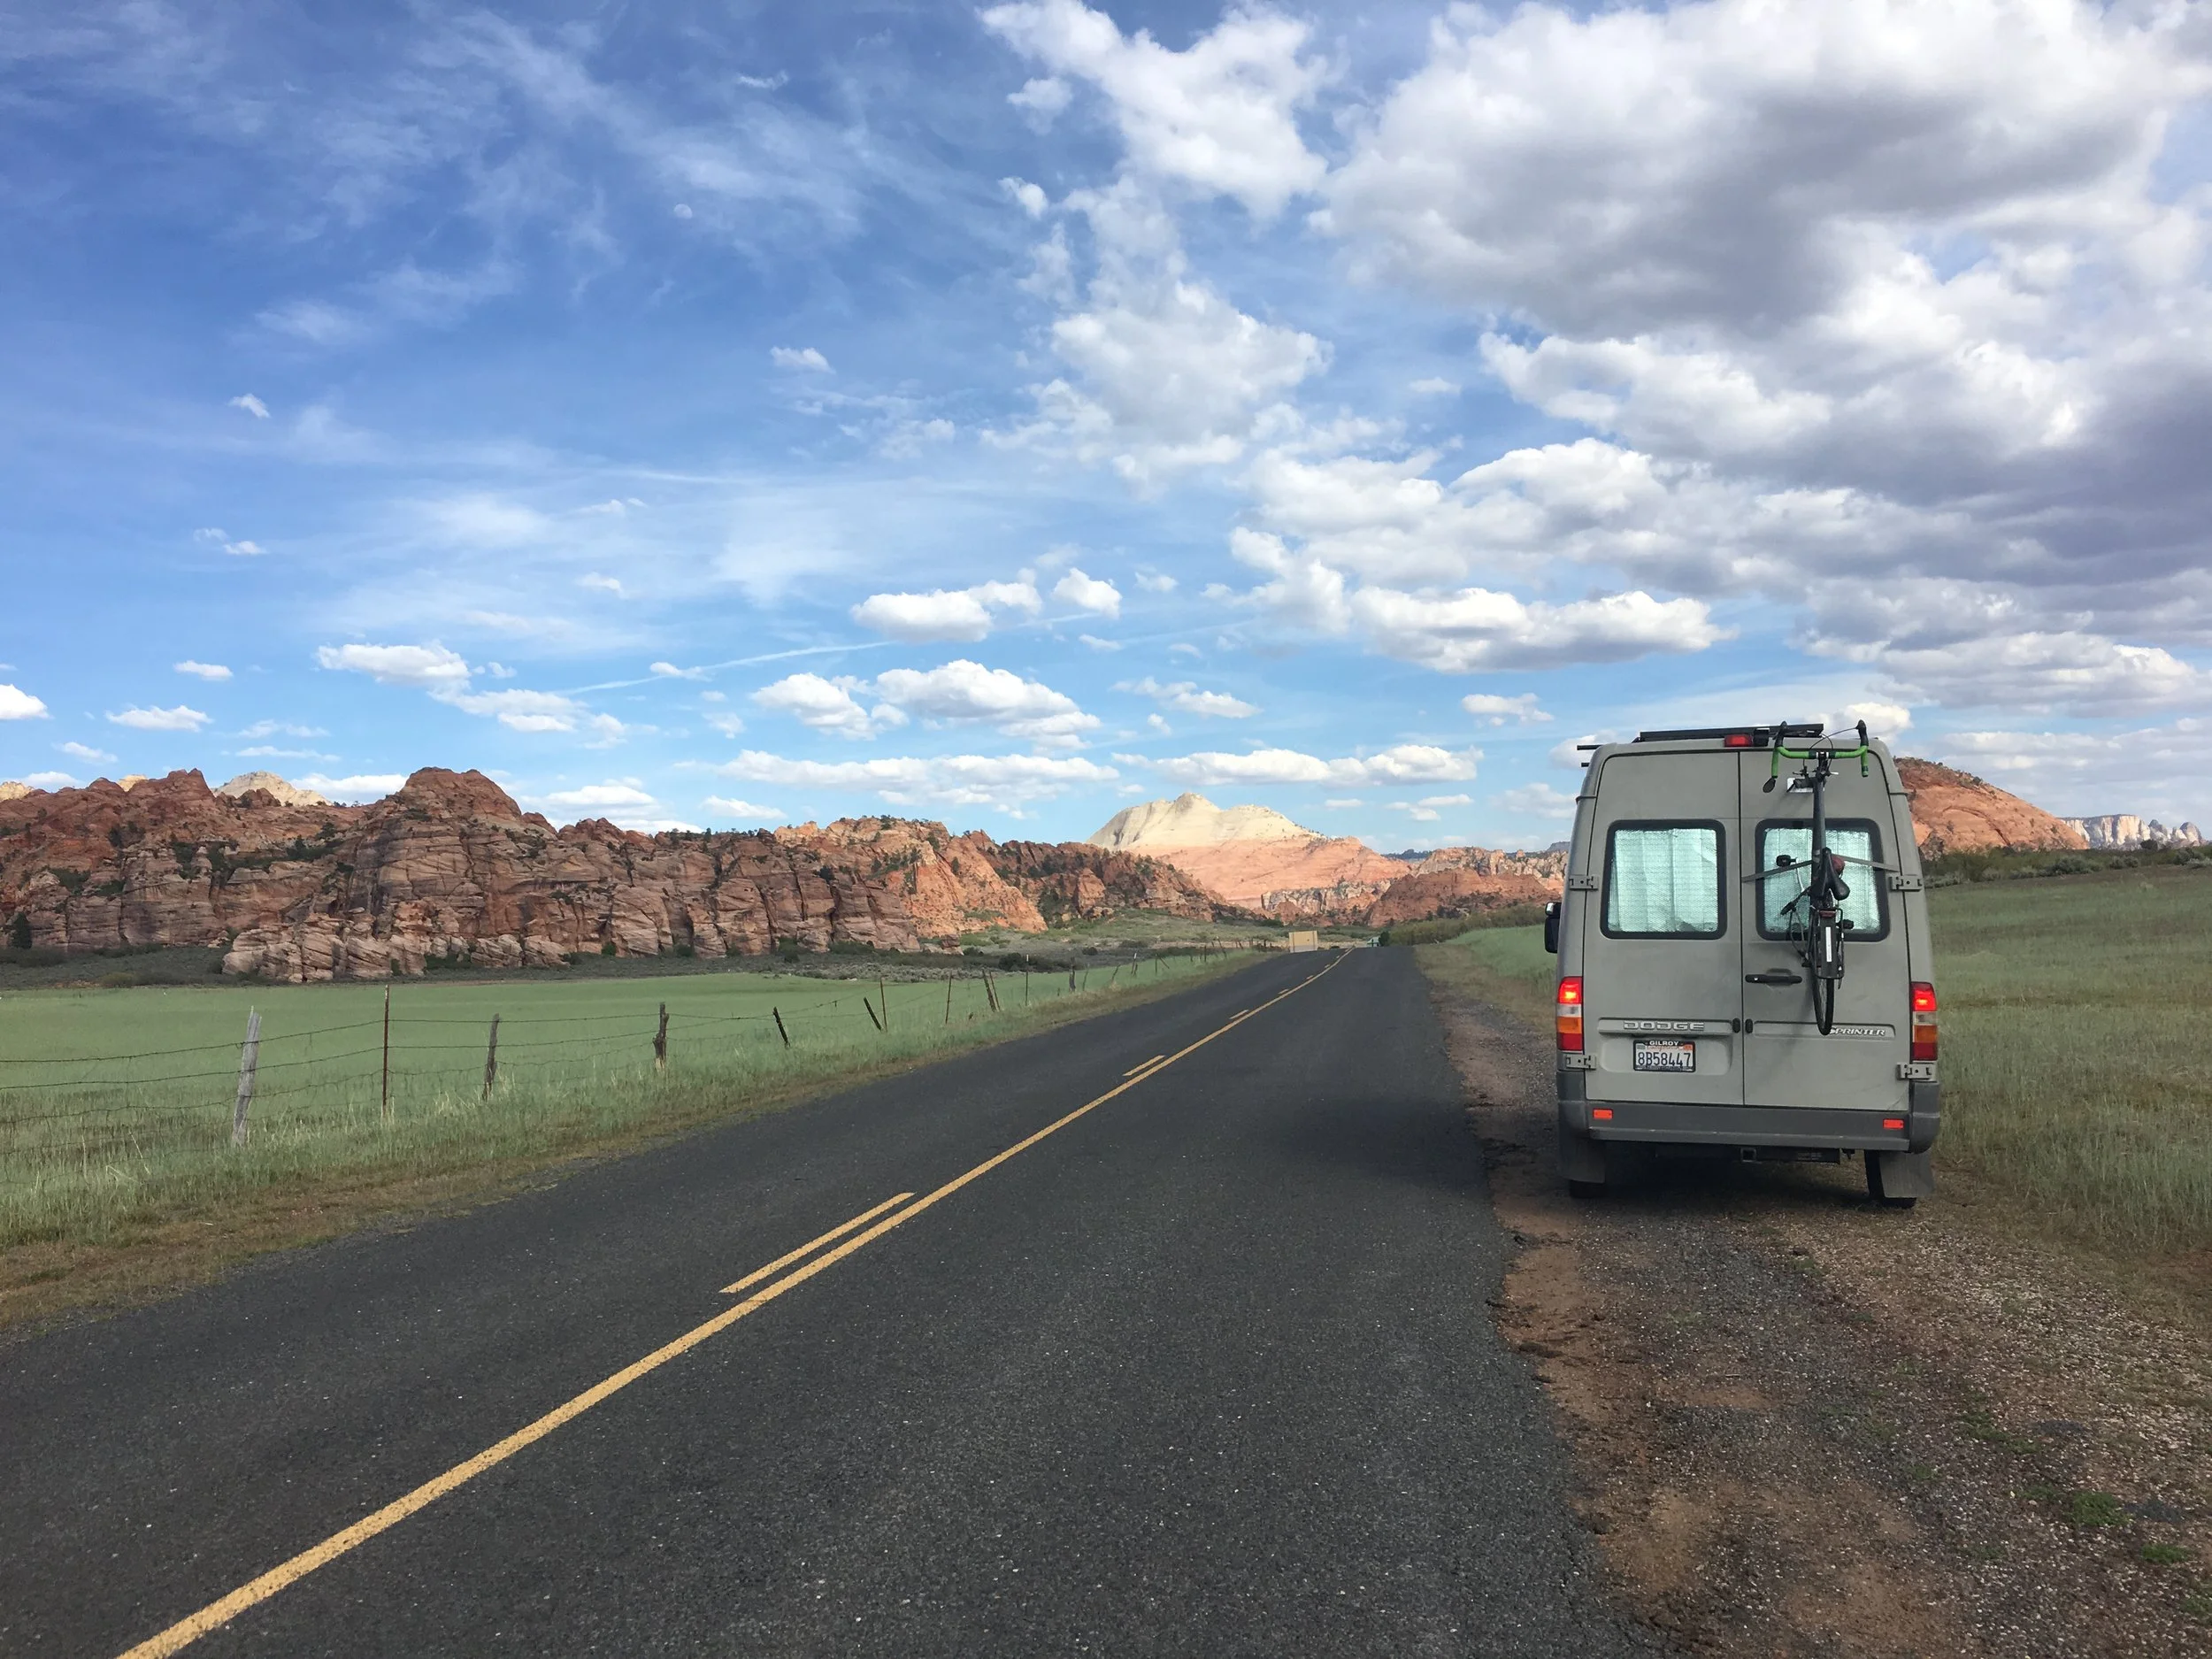
Bringing the bike in the van was always a priority for me, but until recently I was just putting it on the ground inside the van. It would rattle around and I eventually broke my derailer when the bike fell over, so I decided it was time for a new bike rack solution.
I didn't want the rack to be on top of the van because of how tall the van is already, and I couldn't get a standard rack for the back because of the curved shape of the van door. There are some solutions that people have come up with, but they are a bit expensive. So this custom design was my solution!
Materials Used
Process
Step 1: Measure the distance between your bikes front forks and the bottom tire. You want to make sure that when the bike is mounted, that it isn't sticking up too high over the edge of the van, or if you put it on the side with the license plate, that you aren't covering your plates at all.
Step 2: Mark the holes on your door and drill! Don't worry if they don't line up correctly, mine didn't. Just widen the holes a bit and make sure you get rubber washers and fender washers that fit.
Step 3: Secure everything down.
Plate, rubber washer, fender washer, bike mount, lock nut!
Step 4: Drill holes for the oblong eye plates, attach the plates and tie down the tire!
Held on in the back with washers and lock nuts
Tie down/lock down that bike tire!
Oblong eye plates
Step 5: Test out the bike rack!
Bonus Step: I got ratcheting tie downs and for long road trips I'll tie the bike down with those for extra security. Use the tie downs at your own discretion!
Conclusion
I was super worried that I would just completely destroy my bike or the rear door of my van by doing this. The first hundred miles or so I drove really slowly and took every turn at a crawl, convinced that at any minute the bike was going to fly off and break into a million pieces on the road. But after 2,000+ miles I feel pretty confident that this bike rack totally works and is a really great solution for anyone trying to mount their bike on the cheap side!
Other Solutions
If you don't trust my fix you can check out some of these other awesome bike racks here!


